> ## Documentation Index
> Fetch the complete documentation index at: https://arize-ax.mintlify.site/docs/llms.txt
> Use this file to discover all available pages before exploring further.
# Surface Issues with Signal
> Enable Signal on a tracing project to surface ranked issues from production traces with investigation detail and trace links.
Signal is available in closed Enterprise beta. Contact your Arize account team for access.
**Signal** is a built-in worker that scans a tracing project's traces on a schedule, groups recurring failure patterns into **issues**, and writes an investigation for each one (overview, trace evidence, suggested fix).
 Requires a tracing project with traces in Arize. See [Set up tracing](/ax/instrument/set-up-tracing) if needed.
No repo or extra skills are required to detect issues. To let Signal open fix PRs, use **Attach Repo** from the **Signal** tab menu (⋯ on the tab header). **Unattach Repo** in the same menu to revert to trace-only investigations.
## Enable Signal
Signal only reads traces from the selected project.
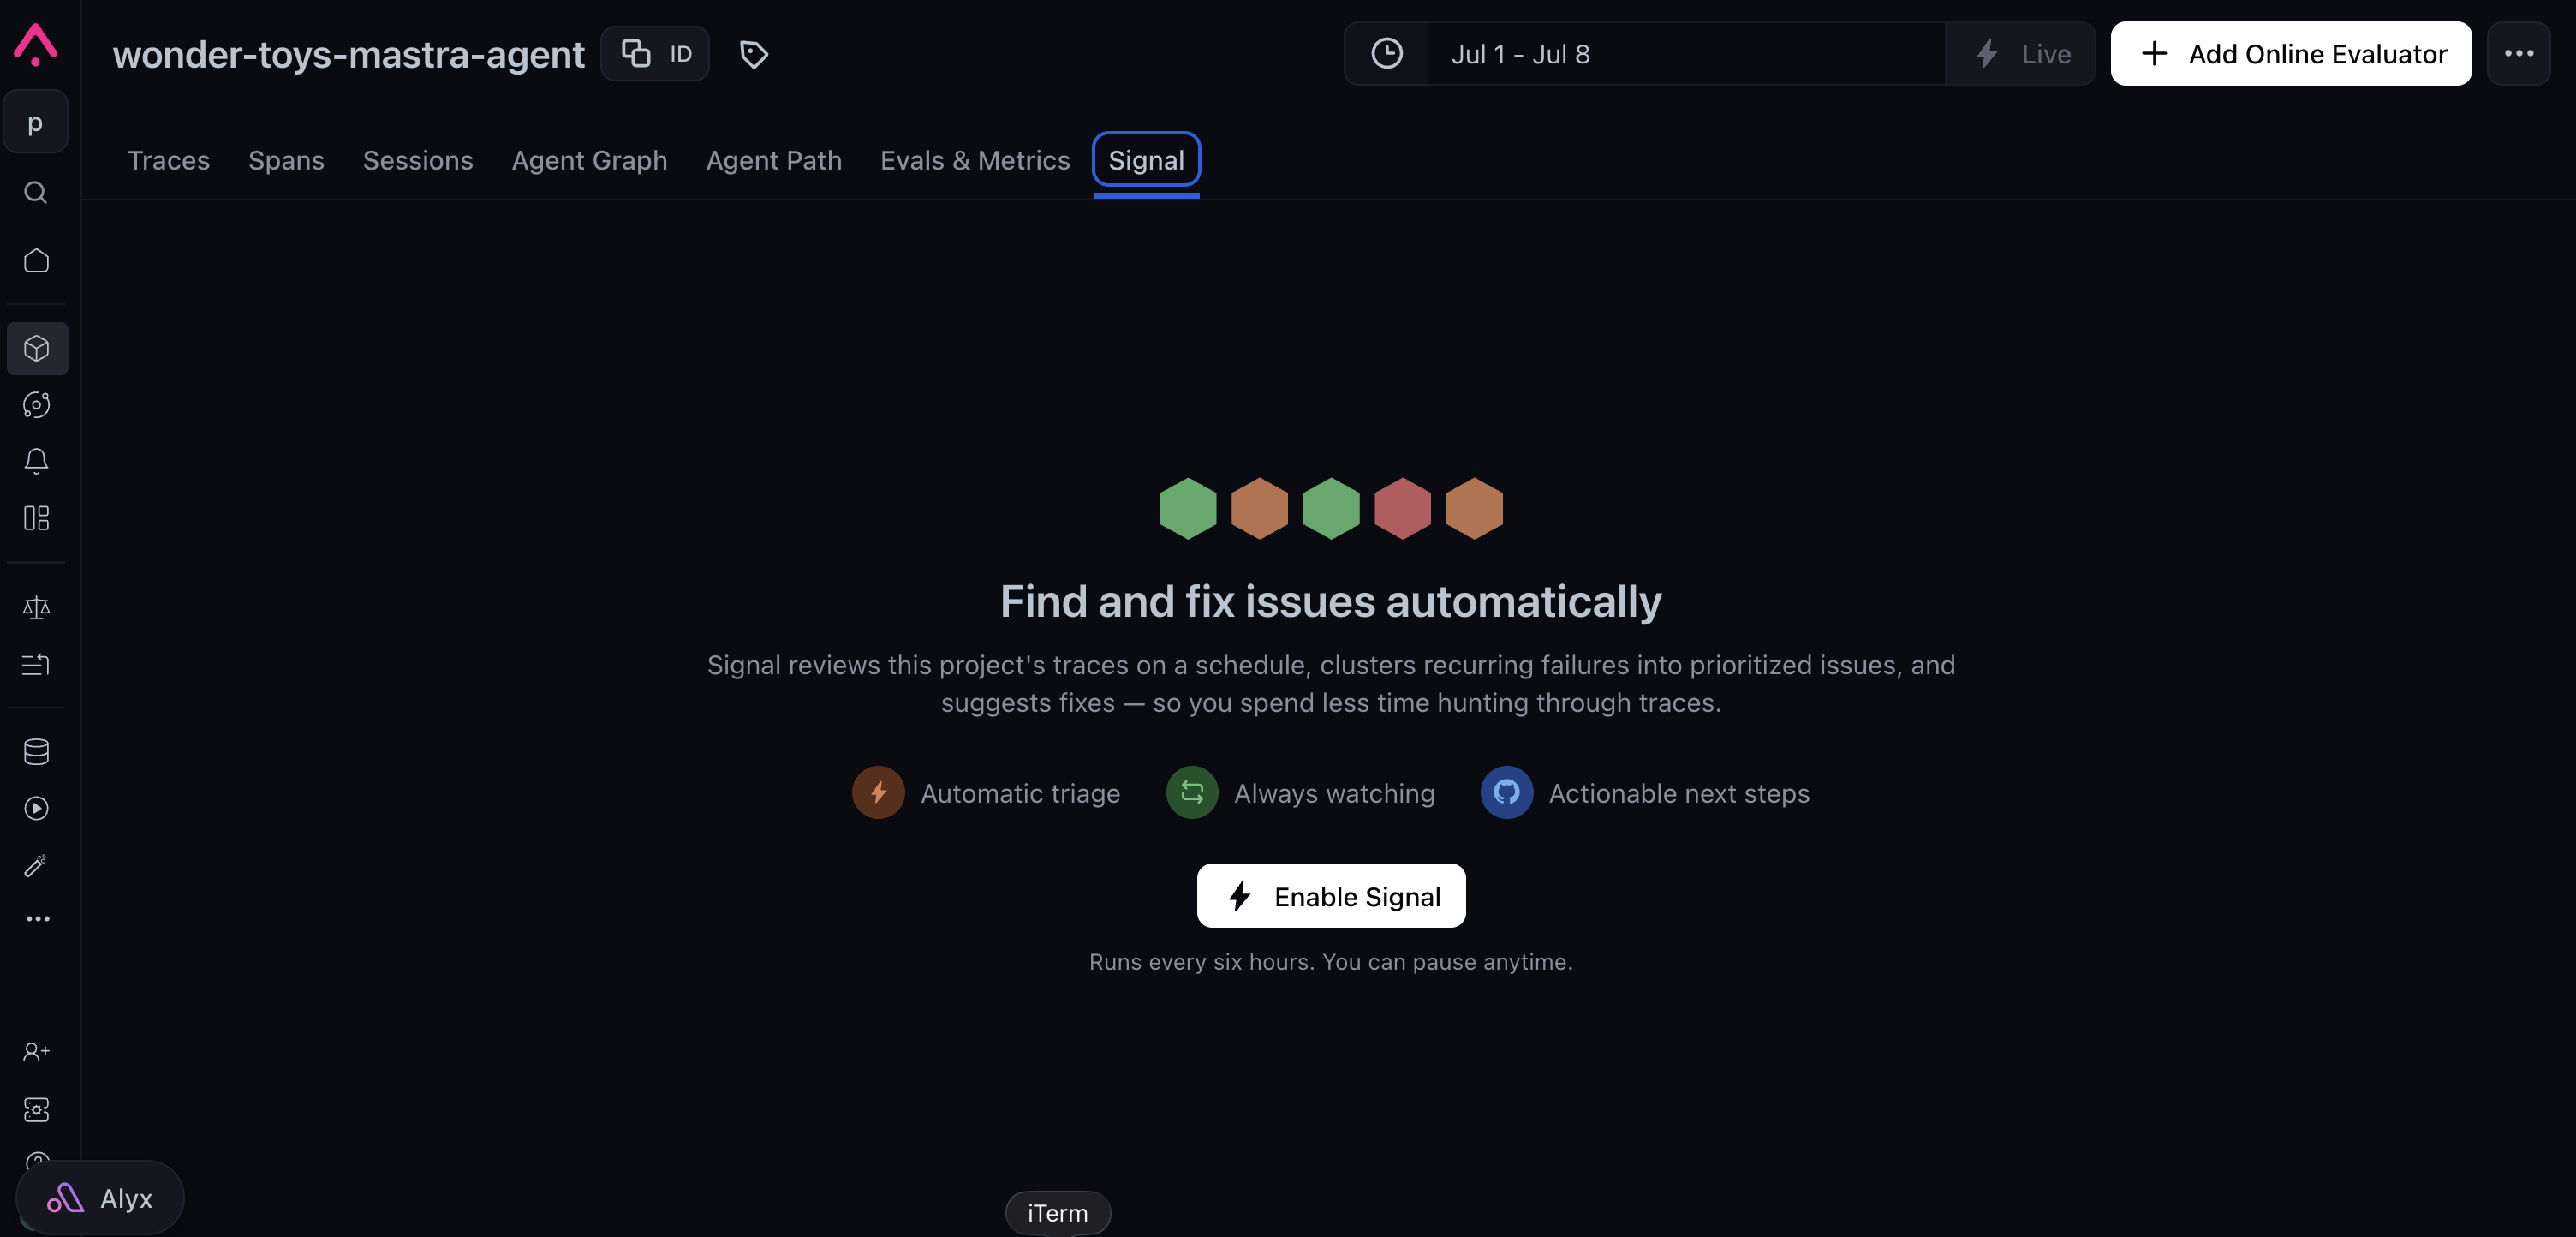
Select **Signal** in the project navigation.
Arize creates a default automation using the Signal preset (recurring schedule, for example every 10 minutes). The tab stays linked to this automation until you disable Signal or delete it.
## Read issues
The **Signal** tab shows issue volume over time, a breakdown by entity when tagged, and a ranked issue list. Select an issue to read its investigation:
* **Overview**: summary of the failure pattern
* **Evidence**: trace IDs and filters
* **Proposed fix**: suggested prompt, code, config, or eval change
Click the **example traces** to open evidence in [Explore your traces](/ax/observe/tracing/view-and-manage-traces).
## Attach a repo for fix PRs
When Signal has a repo attached, it can clone the repository and open pull requests for proposed fixes, not just write investigations.
On the **Signal** tab, open the **⋯** menu in the tab header.
Choose an existing **GitHub skill** or **Create new GitHub skill** (name + personal access token). See [Skills and permissions](/ax/agents/skills-and-permissions) for token scopes.
Provide the repo in `owner/repo` form. Click **Attach Repo**.
Arize creates or updates the Signal agent preset for this project automatically; you do not need to visit [Agent Presets](/ax/agents/agent-presets) first. To go back to trace-only mode, choose **Unattach Repo** from the same menu.
Requires a tracing project with traces in Arize. See [Set up tracing](/ax/instrument/set-up-tracing) if needed.
No repo or extra skills are required to detect issues. To let Signal open fix PRs, use **Attach Repo** from the **Signal** tab menu (⋯ on the tab header). **Unattach Repo** in the same menu to revert to trace-only investigations.
## Enable Signal
Signal only reads traces from the selected project.
Select **Signal** in the project navigation.
Arize creates a default automation using the Signal preset (recurring schedule, for example every 10 minutes). The tab stays linked to this automation until you disable Signal or delete it.
## Read issues
The **Signal** tab shows issue volume over time, a breakdown by entity when tagged, and a ranked issue list. Select an issue to read its investigation:
* **Overview**: summary of the failure pattern
* **Evidence**: trace IDs and filters
* **Proposed fix**: suggested prompt, code, config, or eval change
Click the **example traces** to open evidence in [Explore your traces](/ax/observe/tracing/view-and-manage-traces).
## Attach a repo for fix PRs
When Signal has a repo attached, it can clone the repository and open pull requests for proposed fixes, not just write investigations.
On the **Signal** tab, open the **⋯** menu in the tab header.
Choose an existing **GitHub skill** or **Create new GitHub skill** (name + personal access token). See [Skills and permissions](/ax/agents/skills-and-permissions) for token scopes.
Provide the repo in `owner/repo` form. Click **Attach Repo**.
Arize creates or updates the Signal agent preset for this project automatically; you do not need to visit [Agent Presets](/ax/agents/agent-presets) first. To go back to trace-only mode, choose **Unattach Repo** from the same menu.