Why Evaluate with the Arize AX Python SDK?
Evaluations are the bridge between “my application ran” and “my application is working well.” Without evaluations, you’re left manually inspecting outputs or relying on user feedback—both of which don’t scale. The Python SDK makes evaluations powerful by:- Integrating with your traces — evaluate the same data you’re already collecting
- Providing programmatic access — run evaluations where you prefer, not just in the UI
- Supporting multiple evaluation types — LLM-as-a-judge, code-based, and human labels
- Enabling experimentation — use evaluation results to guide improvements
- Crew AI Financial Analysis and Research Chatbot
- Trace Data in Arize
Follow along with code
This guide has a companion notebook with runnable code examples. Find it in this notebook.
Step 1: Make Sure You Have Data in Arize
Before we can run evaluations, we need something to evaluate. Evaluations in Arize run over existing trace data. If you followed the tracing guide, you should already have traces containing LLM inputs and outputs Having multiple traces helps you see how quality varies across different runs. Generate more trace data by running your agent with various inputs if you need additional examples to evaluate.Step 2: Export Your Trace Data
With the Python SDK, you can programmatically export your traces. This gives you a lot of control over your data—you can analyze, filter, and evaluate them at scale.Step 3: Define an Evaluator
Now that we have trace data, the next question is how we decide whether an output is actually good. An evaluation makes that decision explicit. Instead of manually inspecting outputs or relying on intuition, we define a rule that can be applied consistently across many runs. In Arize, evaluations can be written in different ways. In this guide, we’ll use an LLM-as-a-Judge evaluation as a simple starting point. This works well for questions like correctness or relevance, and lets us get metrics quickly. (If you’d rather use code-based evaluations, you can follow the guide on setting those up.) For LLM-as-a-Judge evaluations, that means defining three things:- A prompt that describes the judgment criteria
- An LLM that performs the evaluation
- The data we want to score
Define the Evaluation Prompt
Define the prompt that specifies how the evaluator should judge outputs. The prompt usesattributes.input.value and attributes.output.value to access the input and output data from your spans.
Define the LLM Judge
Choose the LLM model that will perform the evaluation.Create the Evaluator
We’ll use the Phoenix Evals library to run our evaluations by combining the prompt and model into an evaluator. Phoenix Evals provides reusable evaluation primitives (such ascreate_classifier andLLM) that make it easy to define and run evaluators. We can then use those evaluation results with the Arize AX SDK.
While this example shows how to create a custom LLM-as-a-Judge evaluator, there are other ways to create evaluators, including code evaluators for deterministic checks and pre-built LLM evaluator templates for common evaluation scenarios.
Step 4: Run the Evaluation
Now, it’s time to evaluate your traces. We’ll apply the evaluator to the exported trace data. We’re usingparent_spans because these represent the top-level agent executions that contain the final outputs we want to evaluate. Child spans are individual LLM calls or tool invocations that are part of the overall workflow, but in this case, we want to score the complete agent output.
We’ll use evaluate_dataframe to run the evaluation across all our parent spans.
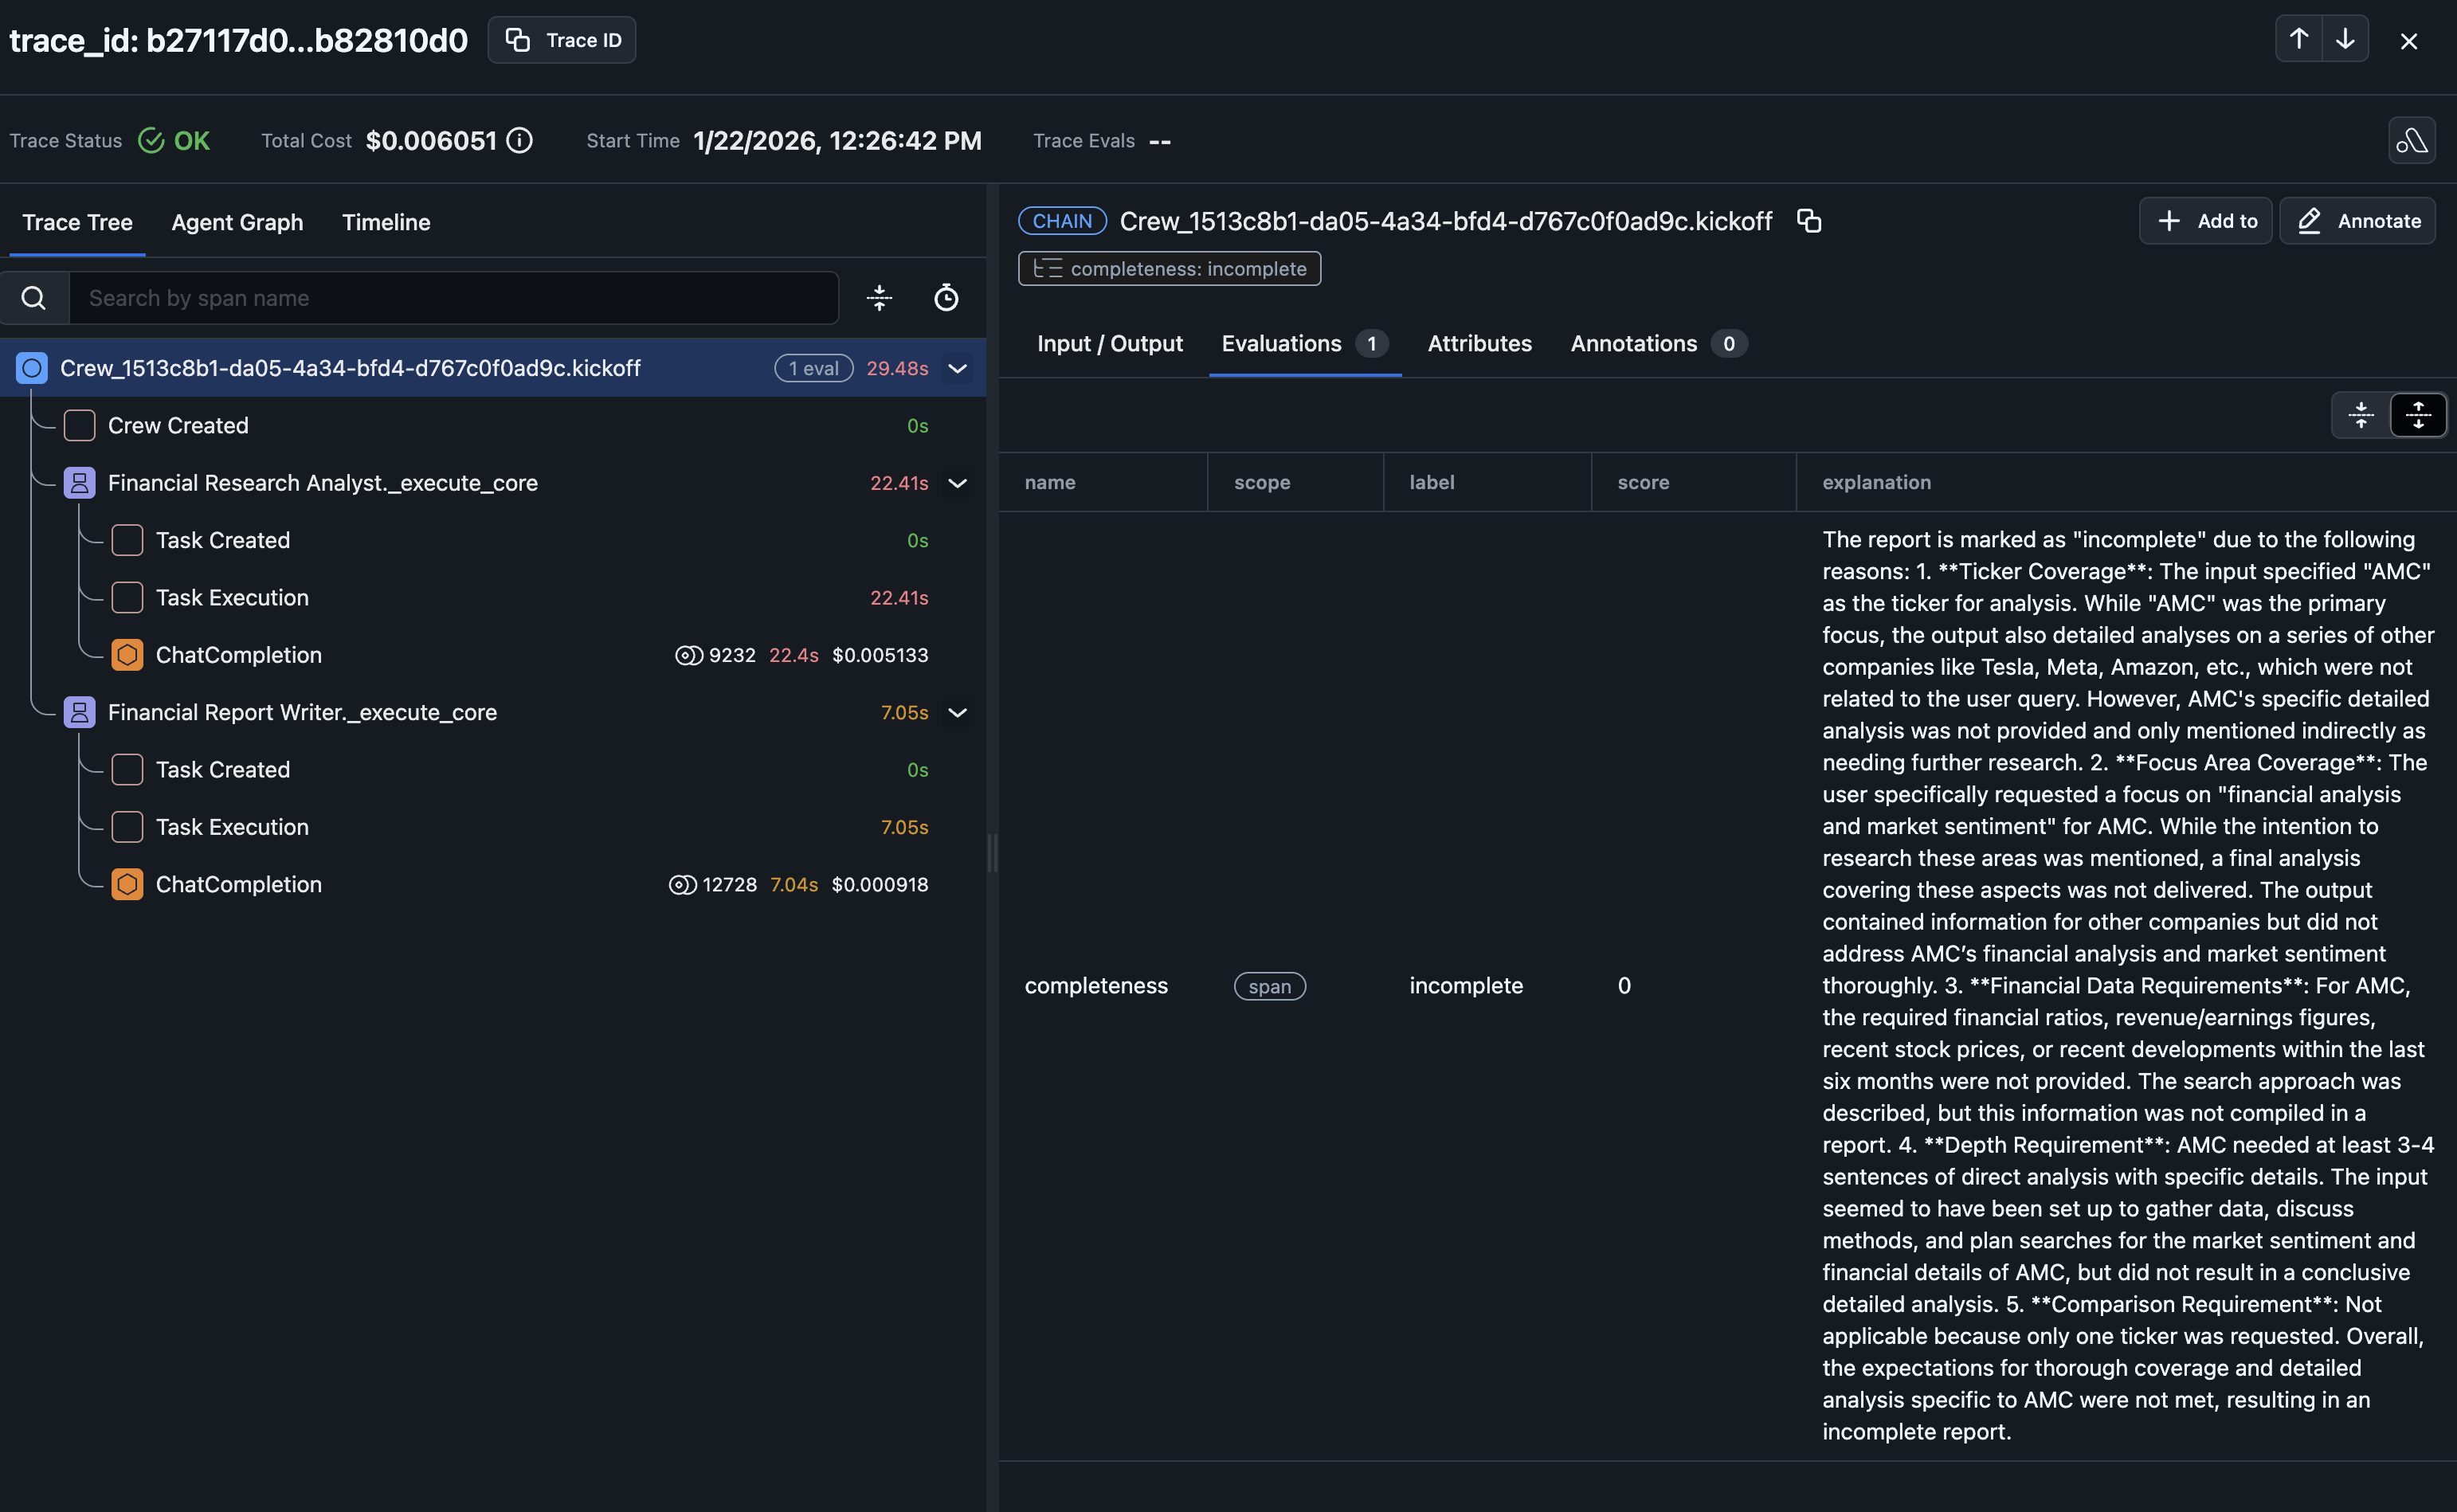
Step 5: Log Evaluation Results to Arize
We’ll upload the results back to Arize AX where they’ll appear alongside your traces. This connects quality scores to execution data, giving you a complete picture of your application’s performance in one place. If you prefer, you can view the evaluation results programmatically—theevals_df DataFrame contains all evaluation results including score, label, and explanation for each run of the evaluator.
evals_df looks like: