You’ve created a trip planner prompt and tested it across a dataset of travel scenarios. Now it’s time to systematically improve it. Prompt Optimization uses meta-prompting to analyze your prompt’s performance on labeled data and automatically generate improved versions — each saved to Prompt Hub with full version control. Instead of manually modifying wording and re-running experiments, you let the optimizer learn from evaluation feedback and propose targeted improvements.Documentation Index
Fetch the complete documentation index at: https://arize-ax.mintlify.dev/docs/llms.txt
Use this file to discover all available pages before exploring further.
Why Optimize?
From testing in the Playground, you may have noticed patterns in your prompt’s weaknesses:- Itineraries that exceed the character limit for longer trips
- Missing cost breakdowns for certain activities
- Inconsistent formatting across different travel styles
- Budget suggestions that don’t align with the provided budget context
Step 1: Create a Prompt Optimization Task
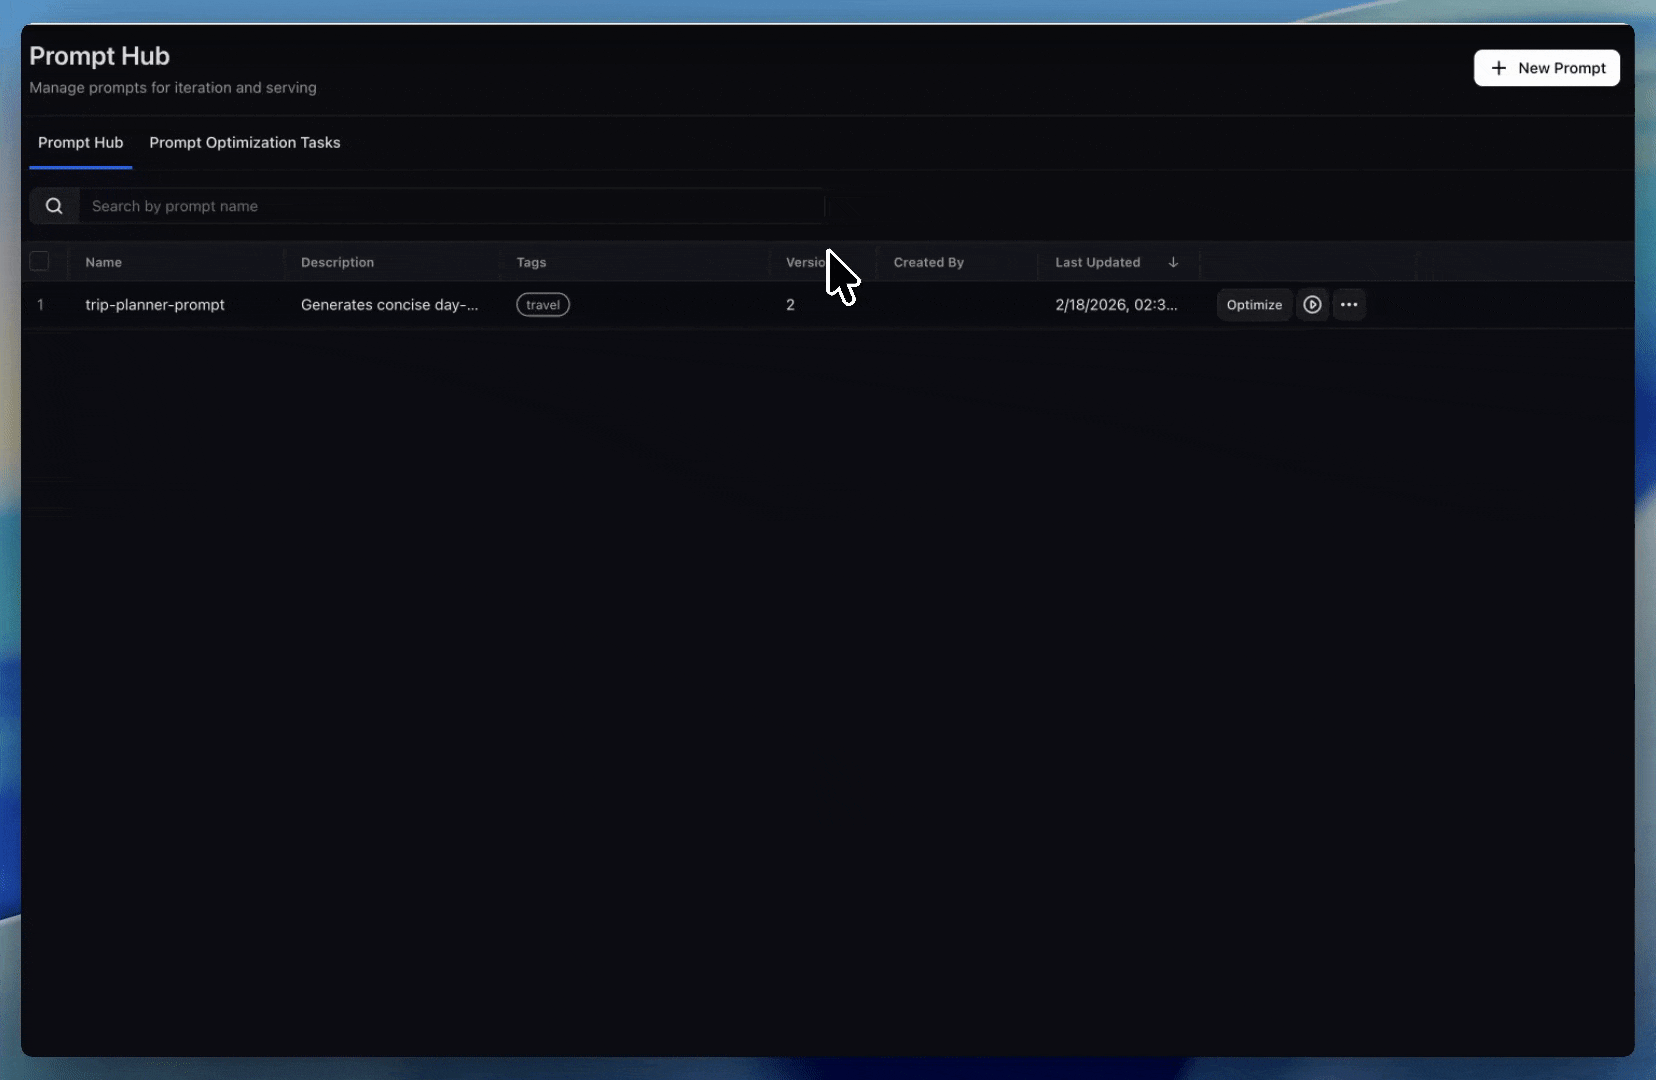
First, navigate to Prompt Hub in the left sidebar and click + Optimize next to yourtrip-planner prompt. Then configure the task in this order:
- Name the task — e.g.
trip-planner-prompt-optimization. - Choose the training dataset — Select the
trip-planner-examplesdataset from the previous tutorial. The optimizer uses its input columns (which map to your prompt’s template variables:destination,duration,travel_style,research,budget_info,local_info). - Select the experiment — Use the Playground run from the previous tutorial. Its evaluation feedback will be used to guide the optimizer.
- Set the output column — Select
outputas the column that contains the generated itinerary. - Confirm feedback columns — The evaluator results from your experiment (ex: labels and explanations) are auto-populated. Add or adjust columns if you customized your Playground evaluators.
- Pick an LLM for the meta prompt — This model (ex:
gpt-5.2) reasons over your data and feedback to propose prompt improvements.

Why Feedback Columns Matter
Feedback columns tell the optimizer what to fix. They can come from evaluator results (e.g. “good”/“bad” from your LLM-as-a-Judge), human annotations, or code evals. The more specific the feedback, the better the optimization.| output_content | Format Check | Budget Alignment | Completeness |
|---|---|---|---|
| Day 1: 10:00 AM - Arrive… | pass | good | good |
| Day 1: Arrival… Day 7: Depart… | fail (missing times) | good | bad (skips days) |
| Day 1: 9 AM - Visit Grand Palace… | pass | bad (costs don’t match budget) | good |
Step 2: Run the Optimization
After configuration, click Optimize Prompt to start the optimization task. The optimizer will analyze the first batch of examples with their feedback, then generate an improved prompt version (saved as version 2 of yourtrip-planner prompt in Prompt Hub)
You can monitor progress in the Task Logs page, which shows each batch as it runs, including which examples were evaluated and what changes were proposed.
Step 3: Review Optimized Versions
Once optimization completes, go to Prompt Hub and open yourtrip-planner prompt. You’ll see new versions in the version history.
Compare the original and optimized versions to understand what changed. Common improvements include:
- More specific formatting instructions
- Explicit constraints that prevent common failure modes
- Better guidance for handling edge cases (very short or very long trips)
Step 4: Validate with an Experiment
Before promoting the optimized prompt, validate it by running an experiment in the Playground:- Open the Prompt Playground
- Load both the original prompt (version 1) and the optimized prompt (latest version) using the side-by-side comparison feature
- Attach the same dataset and evaluator(s) you used before
- Run the experiment and compare results
Step 5: Continue Optimizing or Promote to Production
Review the experiment results to find new areas of improvement — you can run another optimization cycle to refine the prompt further. If you’re satisfied with the evaluation results, tag the chosen version as Production in Prompt Hub. The Prompt Hub API will then pull the production-tagged version at run time, so your application continuously uses the strongest prompt without code changes.Next Steps
Across this tutorial, you’ve completed a full prompt engineering workflow:- Created a structured trip planner prompt with template variables and saved it to Prompt Hub
- Tested the prompt across a diverse dataset of travel scenarios and an LLM-as-a-Judge evaluator in the Playground
- Optimized the prompt using automated feedback-driven optimization, producing improved versions