Use this file to discover all available pages before exploring further.
In the previous guide, the groundedness evaluator revealed a pattern: the chatbot makes claims not in the policy documents - the system prompt says “be helpful” but doesn’t enforce grounding. Rather than guessing at a fix and redeploying, start from a real failure, fix it in Playground using the exact inputs that went wrong, then validate across a full dataset before shipping.
This is Part 3 of the Arize AX Get Started series. You should have completed the Evaluations guide first, with evaluation scores visible on your traces.
Use Arize Skills to have your coding agent run improvement workflows from your editor, Alyx for a conversational approach inside the Arize platform, the UI for a hands-on step-by-step experience, or Code to run programmatically.
In each path, you’ll build a dataset from failing traces, iterate on your prompt, and compare experiments before shipping.
By Arize Skills
By Alyx
By UI
By Code
Use Arize Skills with your coding agent to run the same workflow from your editor. The example prompts below are what you type to your agent — the skill loads automatically and handles the rest. Install the skills plugin and follow Set up Arize with AI coding agents for authentication and CLI setup.
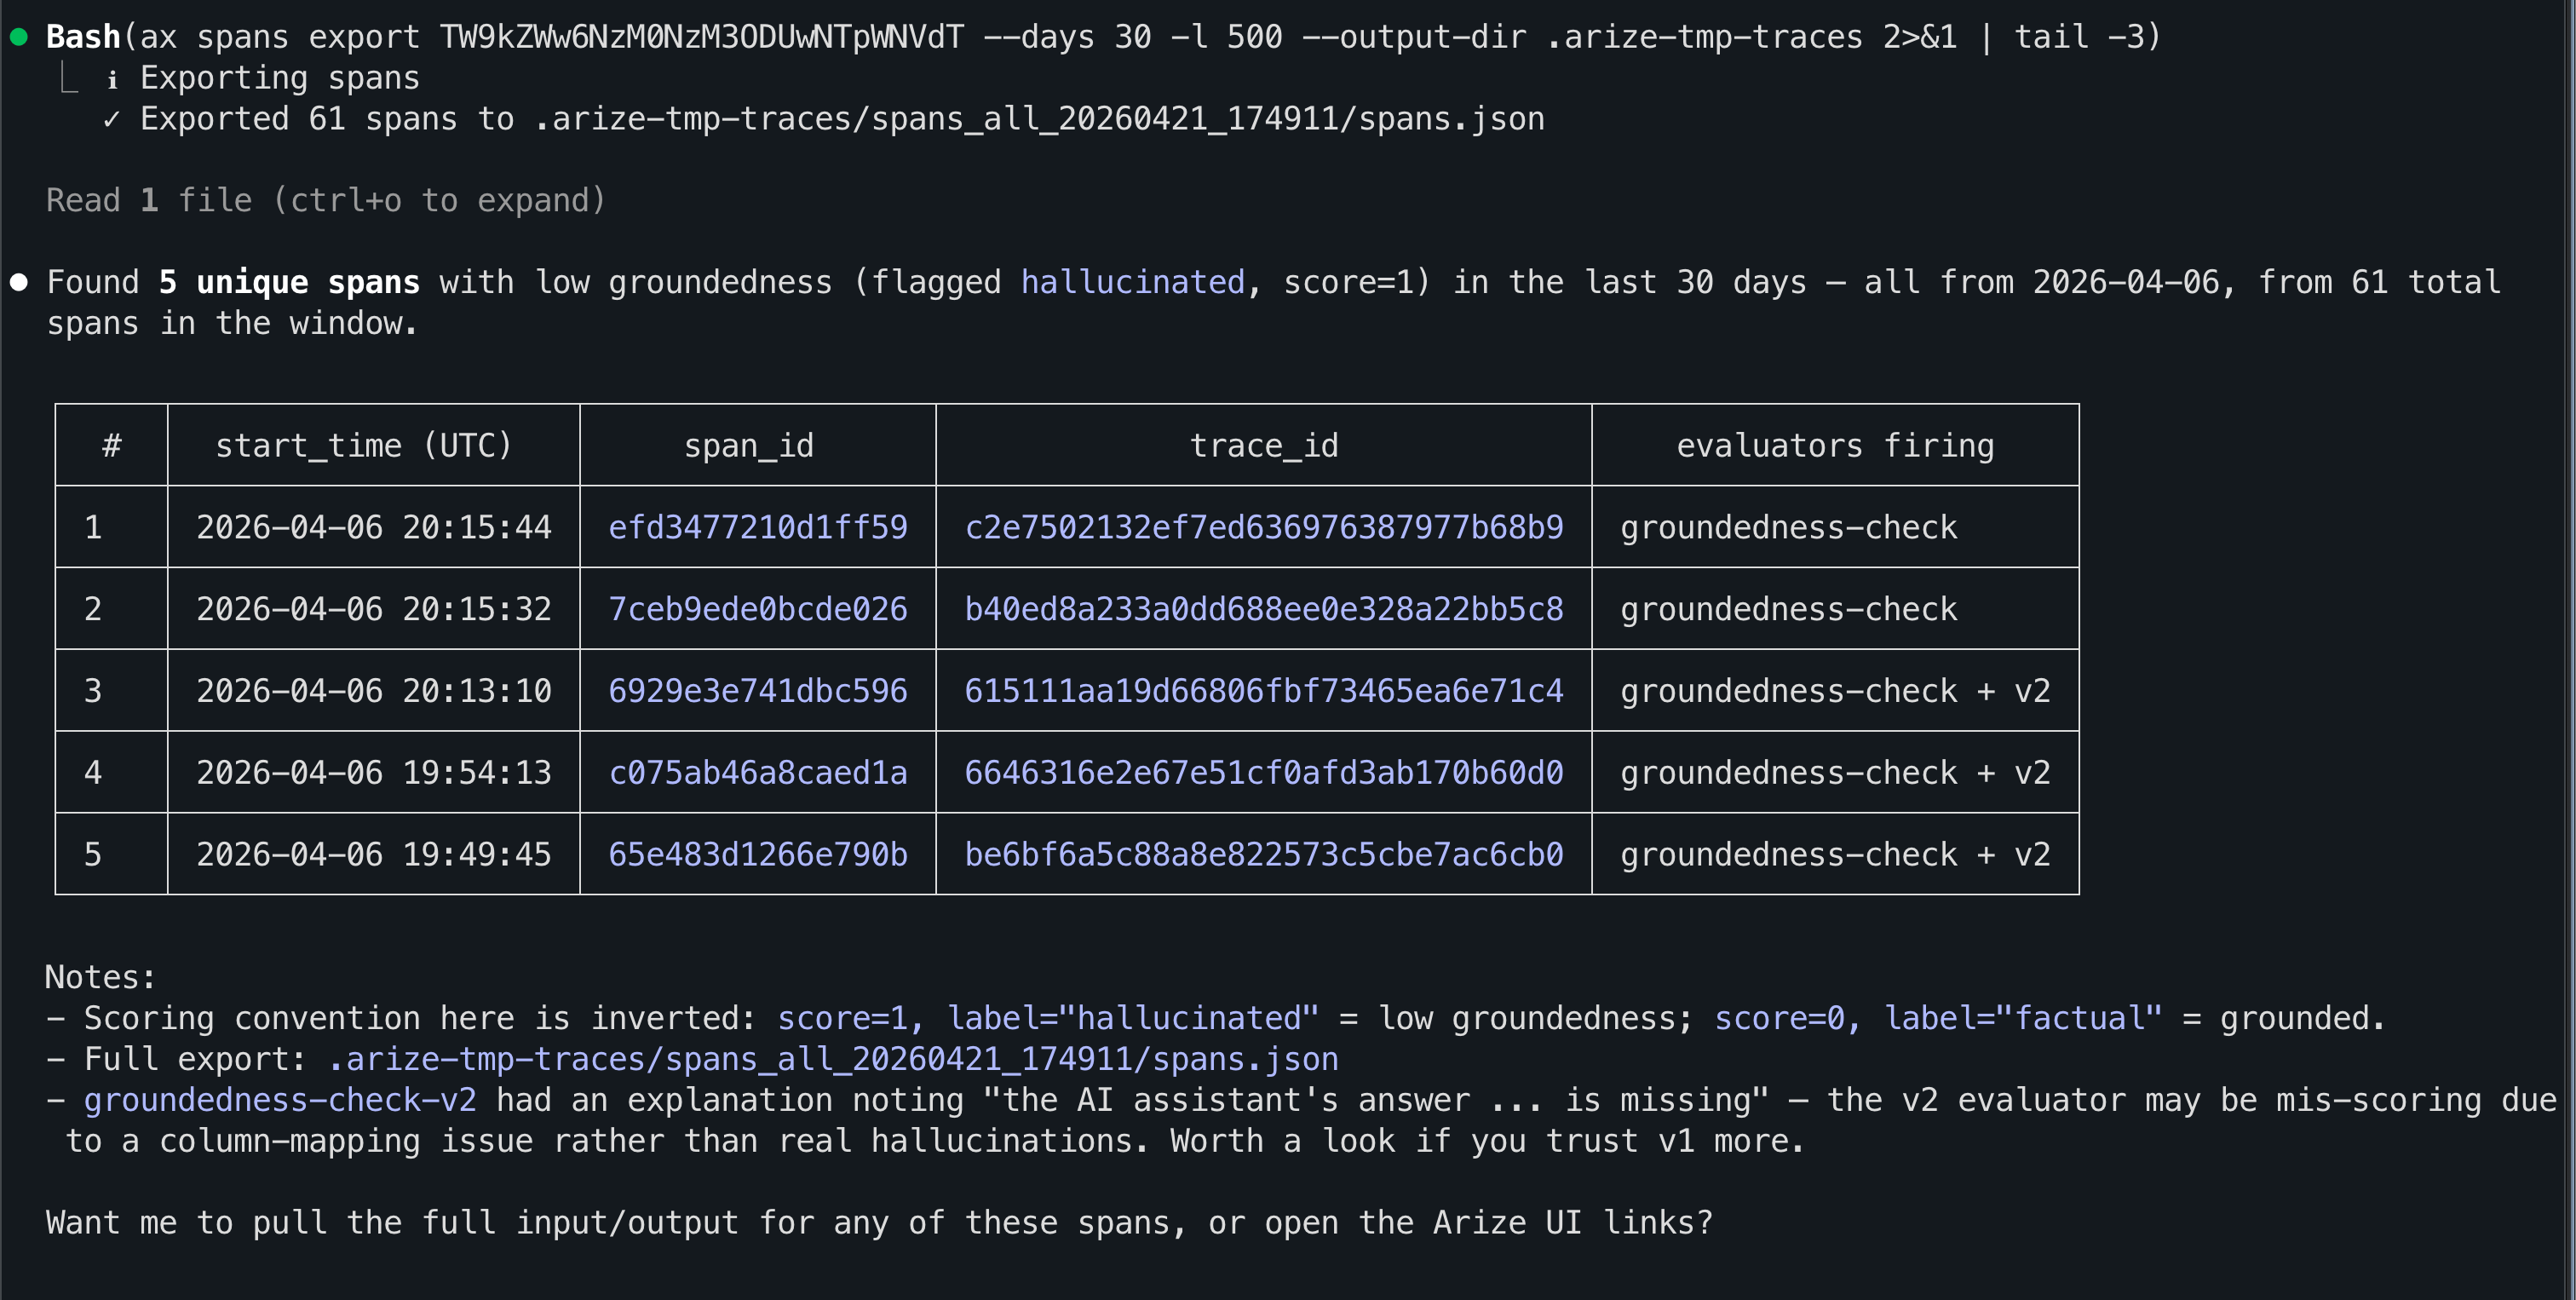
Extract the system prompt from the failing skyserve-chatbot spans and generate an improved version. Use the groundedness-check eval labels and explanations as signal for what to fix.
When you are happy with the improved prompt, ask Alyx to save it to Prompt Hub so you get a named template, version history, and rollbacks - the same outcome as clicking Save to Prompt Hub in the Playground UI.For example, you might say:
Save the improved system prompt from this Playground to Prompt Hub as skyserve-support. Use a version description like: added explicit grounding rules so the model refuses when the policy docs do not support an answer.
Follow these steps in the Arize AX UI: find failing traces, replay them in the Prompt Playground, tighten your prompt, build a dataset, run experiments, compare evals, and save to Prompt Hub.
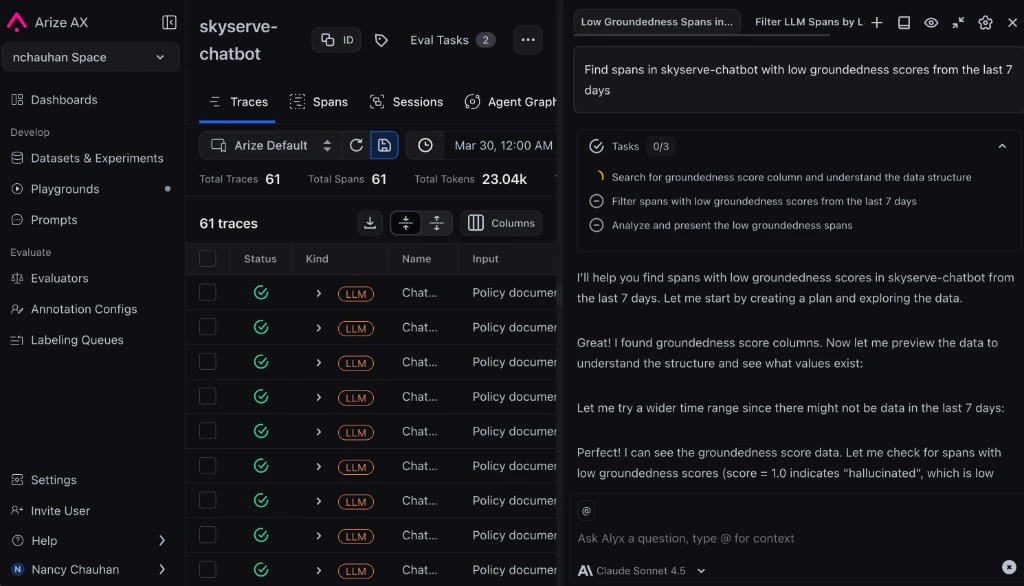
Go to your skyserve-chatbot project and filter traces by the groundedness-checkevaluation score. Find a trace that failed — one where the chatbot made up information not in the policy documents — and click in to see what went wrong.
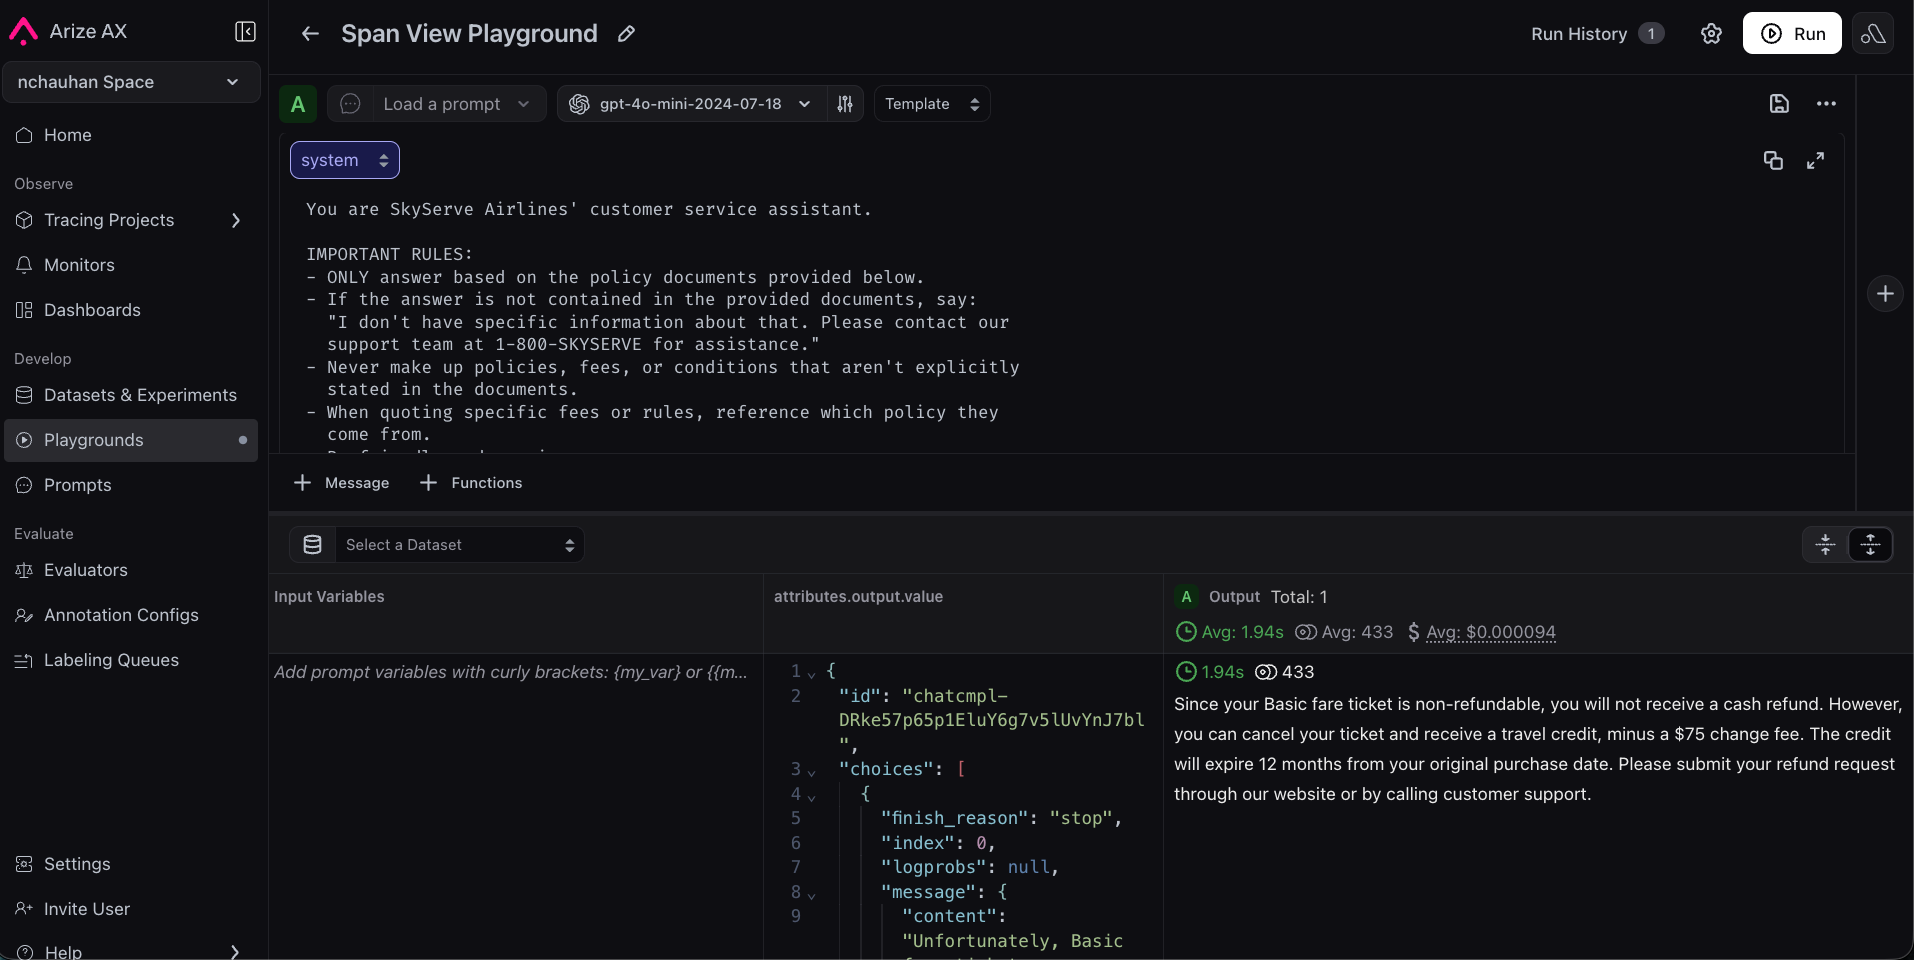
Click Open in Playground on the span. AX automatically populates the system prompt, user message, and model settings that produced the bad answer — no manual setup needed.
You are SkyServe Airlines' customer service assistant.Answer the customer's question based on the provided policy documents.Be friendly and helpful.
Tighten it with explicit grounding rules — for example, require that every claim reference a specific policy, and instruct the model to say “I don’t have that information” rather than guess. Click Run to confirm the response improves.
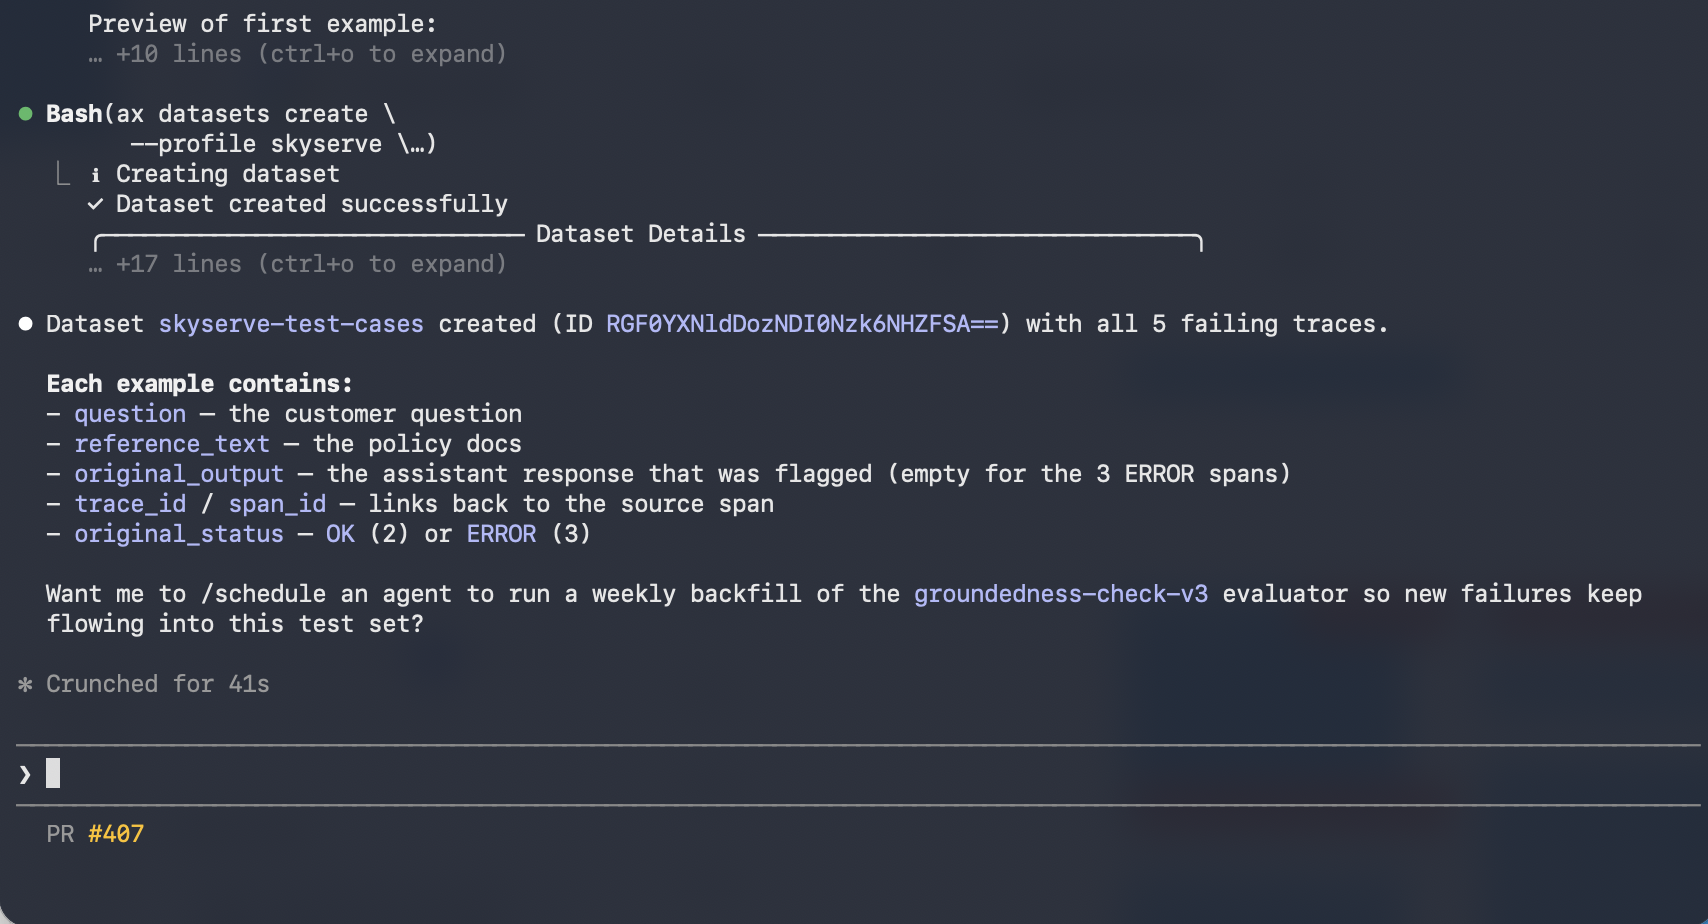
A few spot-checks aren’t enough. Create a dataset of representative test cases (common questions, edge cases, known failures) and run both prompt versions against it as experiments — one baseline, one improved. In Datasets, add examples (upload a CSV or build from traces) and open the dataset in Playground. Run your original prompt as the baseline experiment, then run your improved prompt on the same inputs.
Add your groundedness-checkevaluator to both experiments (the same one you created in the Evaluations guide) and use Compare mode to view results side by side. You can add a Helpfulness evaluator from the templates to check that answers stay useful. You should see groundedness improve while helpfulness stays flat. If you see a regression, iterate in Playground.
Once satisfied, click Save to Prompt Hub, name it skyserve-support, and add a version description. Your prompt is now versioned — your team can see the full history, compare versions, and roll back if needed.
Run this workflow from the Python SDK, TypeScript SDK, or ax CLI. Some features are in alpha or beta - please check individual reference pages for details.
Traced your app to see what’s happening inside it.
Evaluated responses automatically to measure quality.
Improved your prompt using real failure data in the Playground.
Proved the improvement works across a representative dataset with experiments.
You now have a repeatable, data-driven process for improving your LLM application. No more guessing, no more hoping - you can measure quality and demonstrate improvement.Next up: Deepen your tracing foundation so your improvement loop stays grounded in complete, high-quality telemetry.