

Follow along with Wonder Toys, or use your own agent. For your own agent, use the integration guide for your framework to enable tracing, then send a request and inspect its trace in Phoenix. The setup commands and file paths below are for Wonder Toys.
Before you start
For the Wonder Toys walkthrough, you’ll need:- Git and Node.js 22 installed.
- uv to run Phoenix and the Python backend.
- An Anthropic API key for the default model. An OpenAI alternative is shown in Step 2.
Step 1: Start Phoenix
If Phoenix is already running, use that instance. Otherwise, start Phoenix locally in the first terminal:http://localhost:6006 by default. Leave Phoenix running for the following steps.
Step 2: Prepare the practice app
With Phoenix running, let’s prepare the app that will send it traces. In the second terminal, get the uninstrumented Wonder Toys app and install its frontend dependencies:.env.local to configure the app and tell it where Phoenix is running. Set these values, replacing the key placeholder with your Anthropic key:
PHOENIX_COLLECTOR_ENDPOINT.
LangChain will record the model calls in Step 3. The Anthropic setting prevents its SDK from recording a second copy.
Keep working in no-observability/langchain-py; the file paths below start from this folder.
Use OpenAI for this lesson instead
Use OpenAI for this lesson instead
You can use OpenAI for this lesson if you prefer. Later lessons use Anthropic, so keep the default model if you want to follow those commands unchanged.You can use ChatOpenAI with the same LangChain instrumentation. Add In Replace the entire
langchain-openai to backend/requirements.txt, then replace the Anthropic key in .env.local with your OpenAI API key:backend/agent.py, replace the ChatAnthropic import with:_build_agent function, including its Anthropic key check, with:ChatOpenAI reads your OPENAI_API_KEY automatically.Step 3: Record the model and tool calls
With the app configured, let’s enable auto instrumentation to record its model and tool calls. You can add the setup code yourself or ask a coding assistant to do it.- Add the code yourself
- Use a coding assistant
Add these packages to Then create
backend/requirements.txt to record calls and send them to Phoenix:backend/tracing.py to connect to Phoenix and enable auto instrumentation:register uses the Phoenix address and project name you set in Step 2.To load this setup before the agent starts, add this import before all other imports in backend/main.py:tracing.py and _tracer_provider for these lessons; the next lesson reuses those names.
Step 4: Send a shopping request
With tracing in place, start the app fromno-observability/langchain-py in the second terminal. If your coding assistant already started it, stop the app before running this command so it loads your changes:

Enter the request in the chat box, then select Send.
Step 5: Find your first trace
Now let’s see what happened when the agent handled your request. A trace is the record of one request, from start to finish. Each span records a step within that trace, such as a model call or a tool call.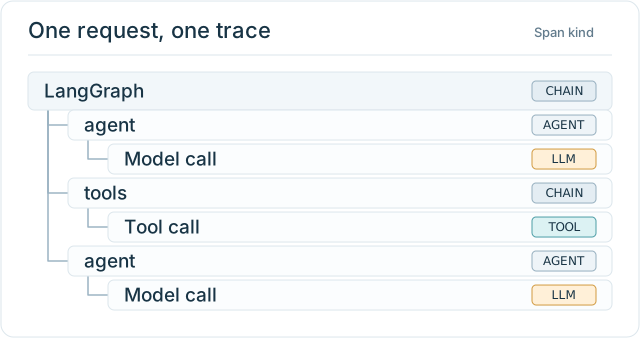
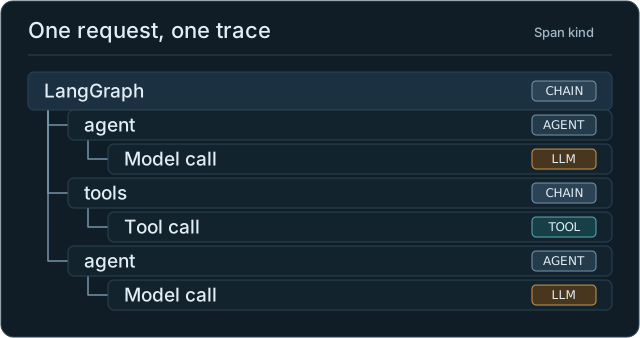
LangGraph's agent and tools steps contain the model and tool calls. Each row is a span; other intermediate spans and repeated calls are omitted.
- Open wonder-toys → Traces and select the chat request you just sent, usually named POST /chat or LangGraph.
- Expand the span tree and find LangGraph, which contains the agent’s workflow.
- Select a ChatAnthropic model span, or ChatOpenAI if you used that option. Under Info, look for your shopping request in Input and the model’s reply in Output.
- If the agent searched for products, select search-products to see its arguments and returned products.
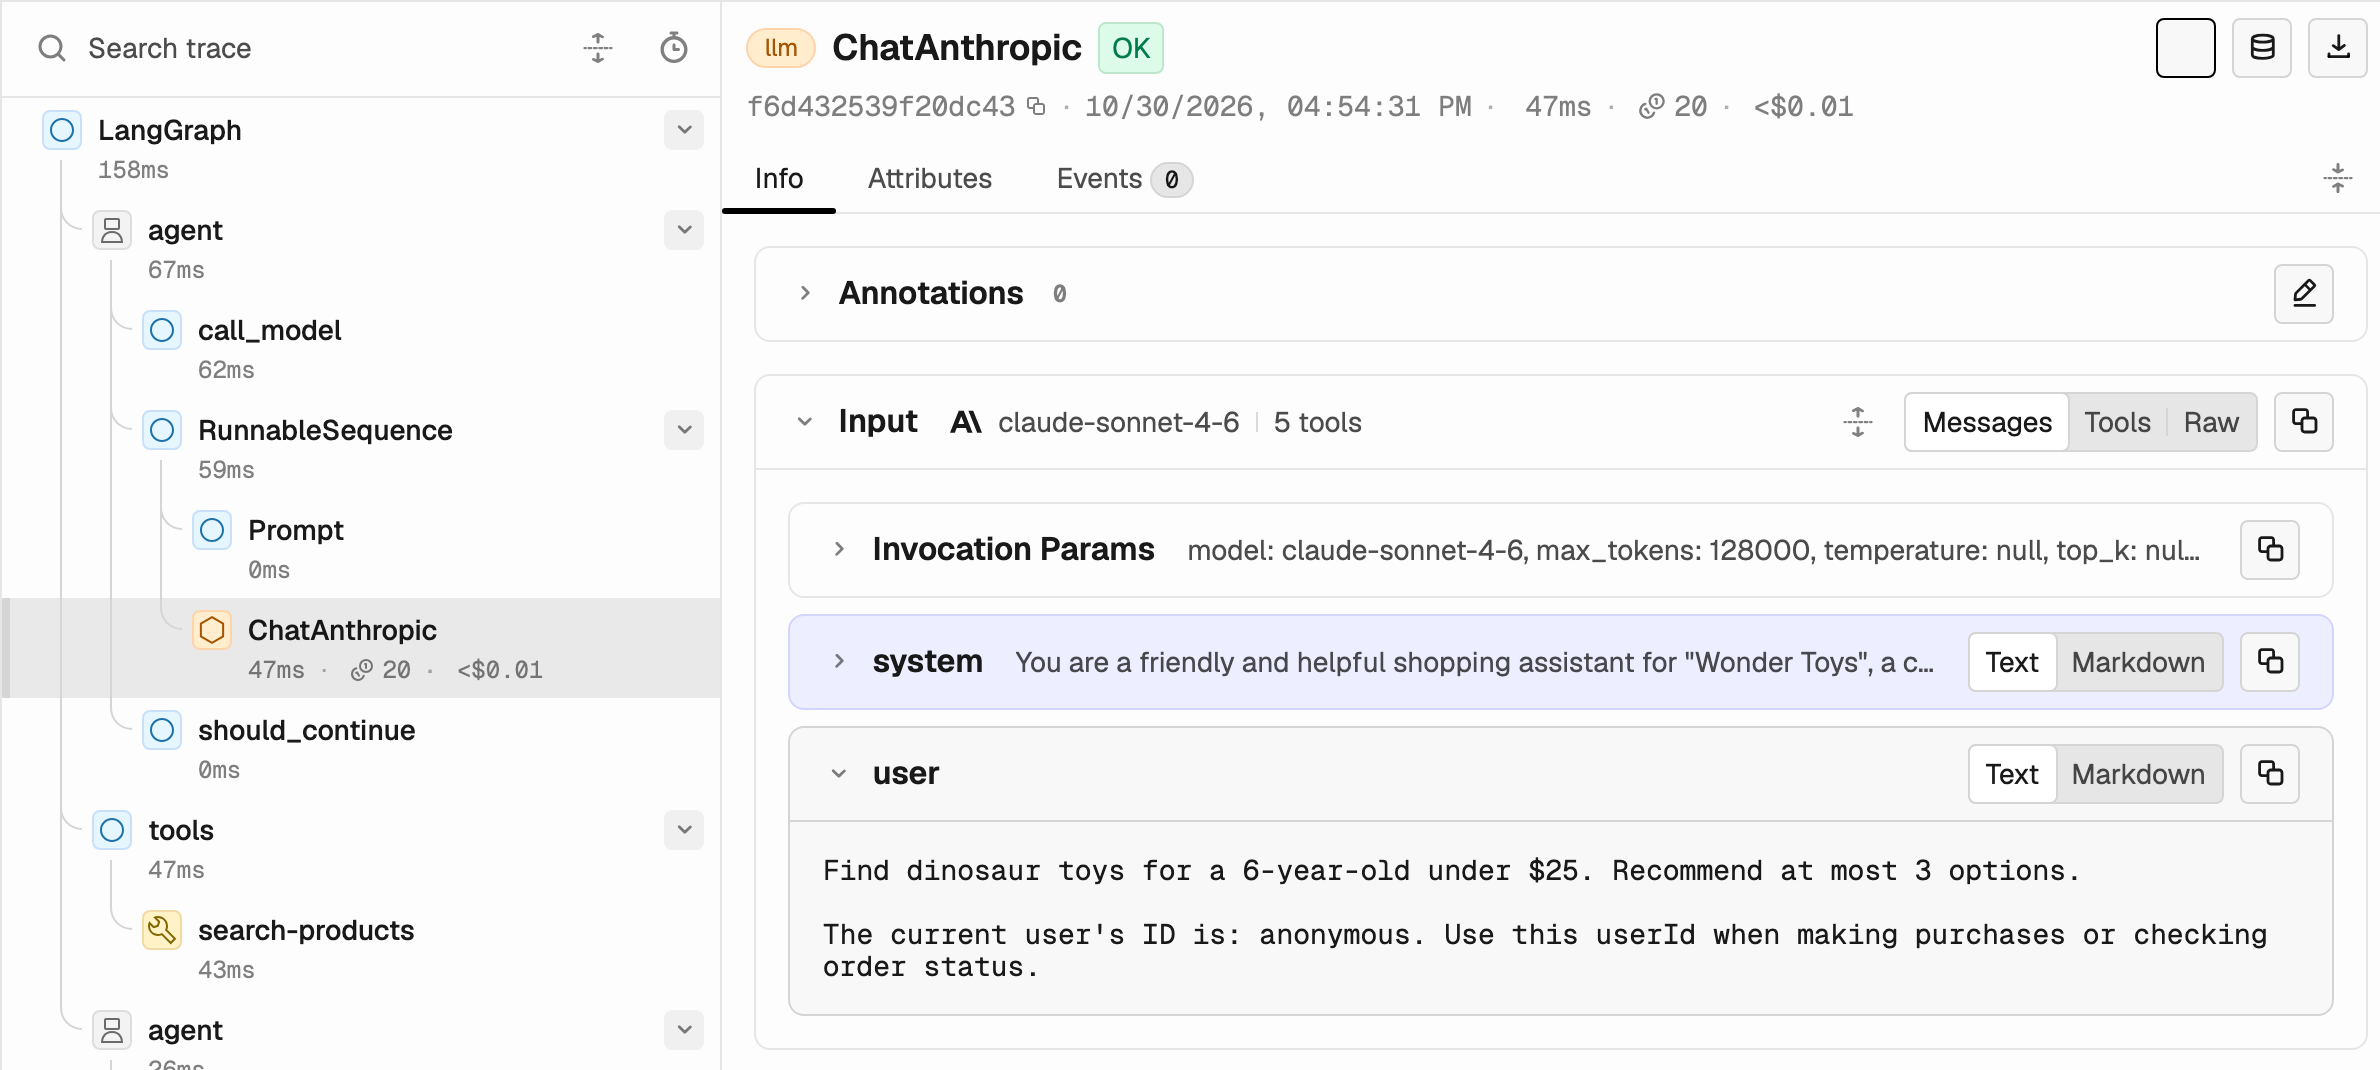
Select ChatAnthropic in the span tree to see the shopper's request under Info → Input.