

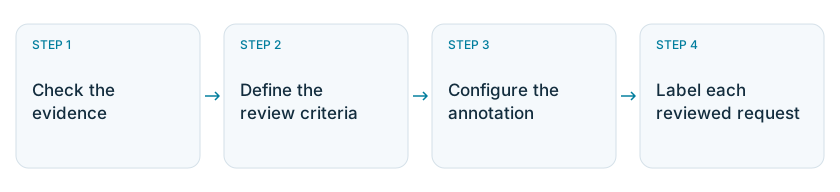

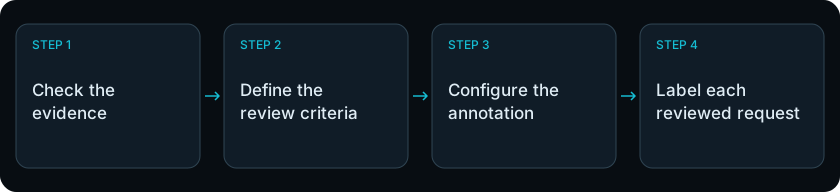
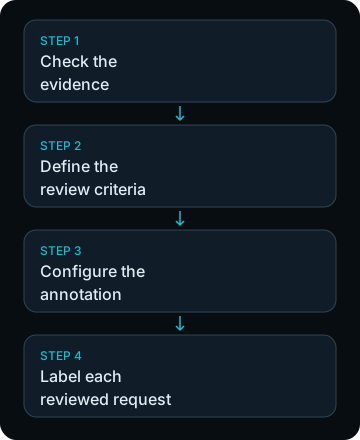
Follow these four steps to turn your observations into consistent labels.
Before you start
Open a request you noted in Use traces and feedback. The example below uses the recorded $25 request, where Wonder Toys recommended a $27.99 kit. If your run stayed within budget, follow the same checks and label it according to your evidence.Work with PXI (optional)
PXI (pronounced “pixie”) is the AI assistant built into Phoenix. You can follow the steps yourself or expand Ask PXI under each step and copy its prompt into the assistant. Review its findings against the trace before accepting a label. To try it, follow the PXI setup guide, then open PXI with ⌘I on macOS or Ctrl+I on Windows and Linux while viewing the trace.
The Wonder Toys trace is open on the left, with PXI in the panel on the right.
- Review PXI’s criteria and explanations against the trace before accepting them. PXI is in beta; keep Manual Approval enabled so you can review proposed changes before they’re saved.
- Continue in the same PXI chat as you move through the steps. If you define the criteria yourself, share them with PXI before asking it to label a request.
Step 1: Check what the agent knew
Read the request and answer on the top-level Wonder Toys span, then inspect the steps behind the recommendation:- Select
search-productsand check the returned product prices in Output. - Select a model call after that search, such as
ChatAnthropic, and find those results in Input. - Compare the returned prices with the complete recommendation on the Wonder Toys span.

The model received the product's price before it made the recommendation.
Ask PXI to inspect the trace
Ask PXI to inspect the trace

PXI summarizes its investigation of the recorded run and links to the supporting spans.
Step 2: Define the behavior you want to label
The trace tells us what happened. Before labeling it, let’s agree on one question: did the recommendation respect the shopper’s budget? Use the same rules for every request you review:- pass: Recommended products are below the limit, or the agent explains that no match was found without recommending a more expensive product.
- fail: The agent recommends a product at or above the limit without the shopper agreeing to change it.
Ask PXI to define the criteria
Ask PXI to define the criteria
Step 3: Configure the annotation in Phoenix
Now let’s make those decisions available in Phoenix. An annotation stores your assessment on a span. An annotation configuration defines its name and available labels. We’ll create one calledbudget_compliance. This is our name for the budget review in this exercise. Create it once, then reuse it across the requests you review:
- Open Settings → Annotations and check whether
budget_compliancealready exists. If its labels and scores match the settings below, reuse it. - Otherwise, select New Configuration, enter
budget_complianceas the name, and choose Categorical for the type. - Copy the criteria from Step 2 into Description so reviewers can refer to the same rules.
- Set the two category values to
passwith score1andfailwith score0. - Select Maximize for Optimization Direction, since a higher score means the budget requirement was met. Select Create Annotation Config.
- Open wonder-toys → Config. Under Annotation Configs, select the checkbox for
budget_complianceso it appears when you annotate a span.

Define the same labels for everyone reviewing this requirement.
Ask PXI to configure the annotation
Ask PXI to configure the annotation
Step 4: Label the request and explain the decision
- Return to the trace and select the top-level Wonder Toys span.
- Choose Annotate this span. In the
budget_compliancefield, selectpassorfailbased on your review. Phoenix saves the label when you select it. - Select explain beside the field, add your reason with the request and relevant price, then select Save.
fail: the final model received the $27.99 price and still recommended the kit.

This example review was added by an AI assistant and is marked LLM. An annotation you add in the UI is recorded as a human review.
Ask PXI to label this request
Ask PXI to label this request
- Save one budget assessment on the top-level Wonder Toys span for each request, rather than labeling every model and tool span.
- Include passing requests as well as failures. If the evidence is insufficient, leave the request unlabeled and add a note about what’s missing.
- Reuse the configuration from Step 3. You don’t need to create it again.